
Access to the bleeder valve from the top of the engine compartment is difficult for the battery tray.
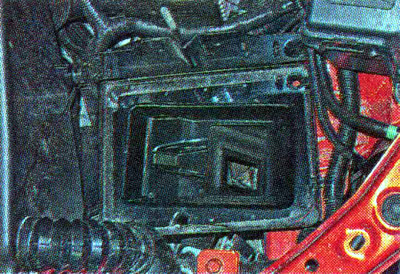
Removing the shelf is shown in the section «Replacing the left support». Operations can be performed from below the car, but at the same time, you will have to connect the tube to the bleed valve and open the valve by touch.
1. We prepare the car for work (see «Preparing the car for maintenance and repair»).
2. Remove the engine mudguard (see «Mudguard of the engine - removal and installation»).
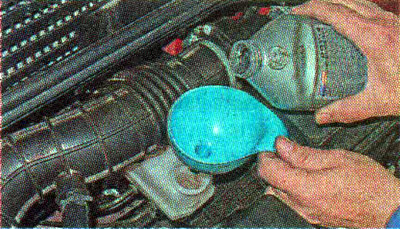
3. We turn off counterclockwise and remove the cover of the reservoir of the main brake cylinder. Add new brake fluid to the reservoir.
4. We clean the fitting of the clutch slave cylinder from dirt. Remove the protective rubber cap 1 from the bleed valve (in the photo for clarity, the fitting is shown from above).
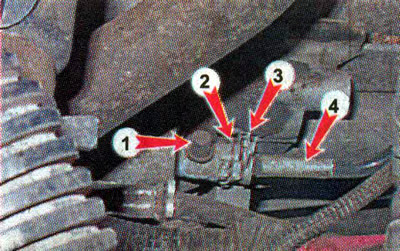
5. We put a transparent tube on the bleeder fitting. We lower the other end of the hose into the prepared container. Using a slotted screwdriver, pry off the spring retainer of the tube 2 and lift it by one click (to the level of the spring clip 3). By pulling the tip of the tube 4, we shift it by one click, after which liquid will begin to flow through the bleed valve and drain into the container. After the air bubbles stop coming out through the transparent tube along with the brake fluid, close the bleeder valve. To do this, we return the tip of the tube 4 and the spring retainer 2 into place.
Comment. If the fluid has been completely removed from the system, then the assistant can press the clutch pedal several times to speed up the process.
6. Remove the transparent tube and put on the protective cap 1 on the bleed valve.
7. Install the engine mudguard.