
Car repair AvtoVAZ Car repair Renault Car repair Hyundai Car repair Ford Car repair Volkswagen Car repair Audi Car repair Chevrolet
English Русский
Български
Беларускі
Український
Српски
Hrvatski
Română
Polski
Slovenský
Magyar
articles sitemap contacts bookmark
LadaMan.ru


Kalina Granta Priora Vesta Largus XRAY
Priora 1 (2007-2018, VAZ-2170)

Removal, disassembly and installation of the windshield wiper (Priora 2170)

  • Main
  • Priora
  • Priora 1
  • Electrical equipment
  • Equipment and devices
  • Removal, disassembly and installation of the windshield wiper
0
You will need: a flat-blade screwdriver, a 10 mm open-end wrench, and a 10 mm socket head.

1. Disconnect the wire from the negative terminal of the battery.
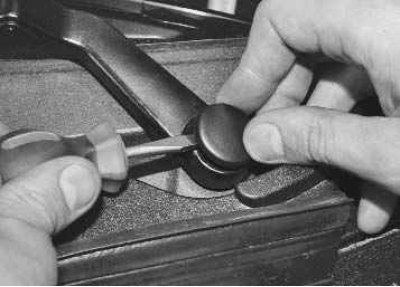
2. Use a screwdriver to pry off the decorative caps on the wiper arm mounting nuts…
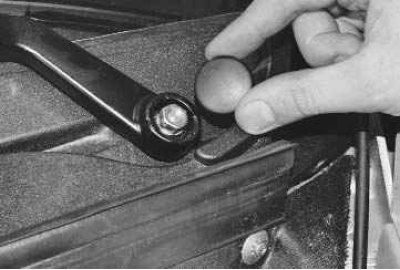

2. Use a screwdriver to pry off the decorative caps on the wiper arm mounting nuts…

3. …and remove the plugs.
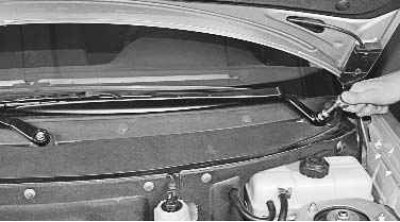

3. …and remove the plugs.

4. Loosen the lever mounting nuts a few turns.
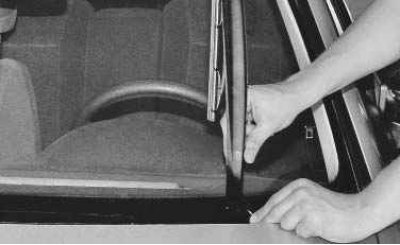

4. Loosen the lever mounting nuts a few turns.


5. Close the hood and carefully, lifting the levers up and rocking them up and down so as not to…


5. Close the hood and carefully, lifting the levers up and rocking them up and down so as not to damage the paintwork of the hood, tear the lever off the splines.
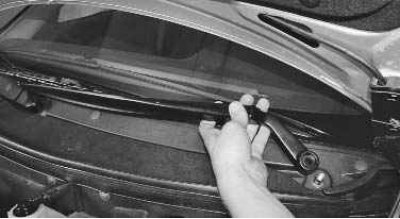
6. Lower the levers to their original position, open the hood, completely unscrew the mounting nuts…


6. Lower the levers to their original position, open the hood, completely unscrew the mounting nuts and remove the levers together with the brushes.
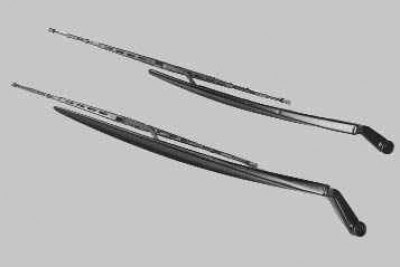
Note: The driver and passenger side wiper arms are different lengths and therefore are not…


Note: The driver and passenger side wiper arms are different lengths and therefore are not interchangeable. Do not mix up the levers when installing them on the vehicle.


7. Remove the windshield frame trims (see "Removing and installing windshield frame trims").
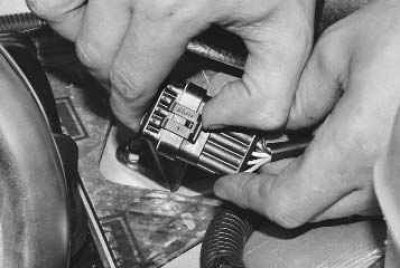
8. Press the latch..
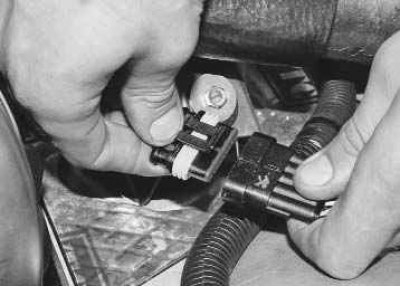

8. Press the latch..

9. …and disconnect the windshield wiper wiring harness connector and the vehicle's front wiring…


9. …and disconnect the windshield wiper wiring harness connector and the vehicle's front wiring harness.
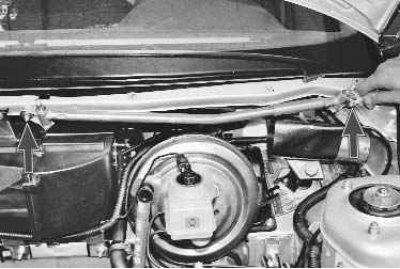
10. Unscrew the two nuts securing the windshield wiper linkage…
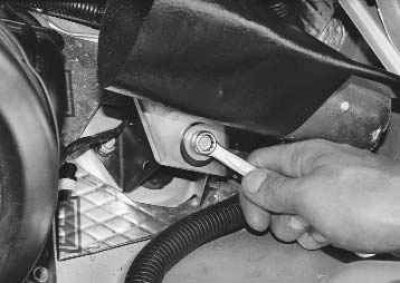

10. Unscrew the two nuts securing the windshield wiper linkage…

11. …bolt for fastening the gearmotor bracket to the body…
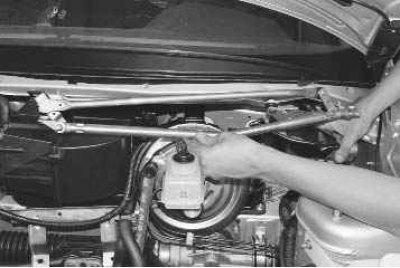

11. …bolt for fastening the gearmotor bracket to the body…


12. …and remove the windshield wiper by turning it slightly upwards.
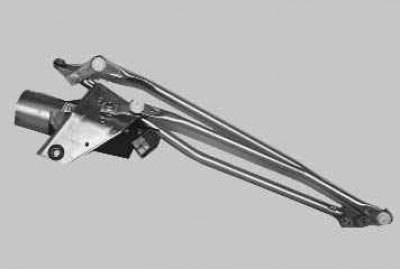

12. …and remove the windshield wiper by turning it slightly upwards.

Note: This is what the assembled wiper looks like.

Note: This is what the assembled wiper looks like.


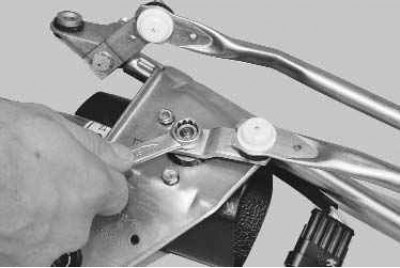
13. Unscrew the fastening nut…

13. Unscrew the fastening nut…

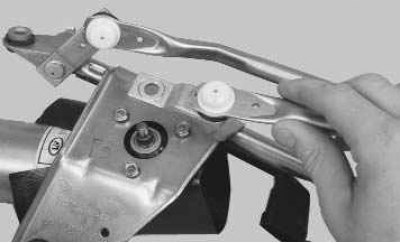
14. …and remove the leash from the gear motor shaft.

14. …and remove the leash from the gear motor shaft.


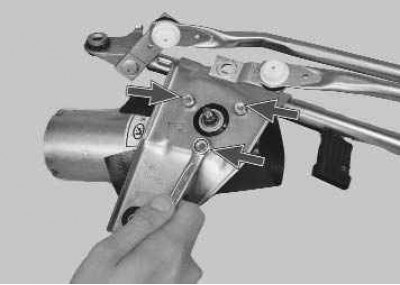
15. Remove the three gearmotor mounting bolts…

15. Remove the three gearmotor mounting bolts…

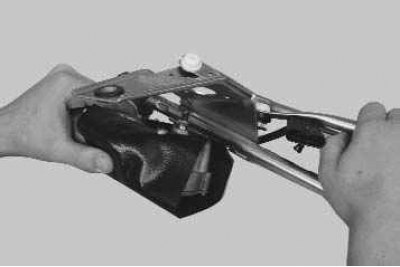
16. …and remove it from the bracket.
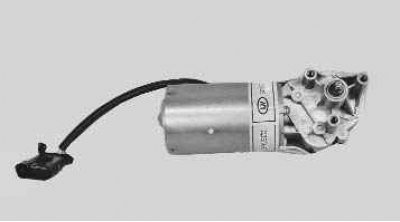

16. …and remove it from the bracket.

Note: This is what the windshield wiper gear motor looks like when removed from the mounting…


Note: This is what the windshield wiper gear motor looks like when removed from the mounting bracket.
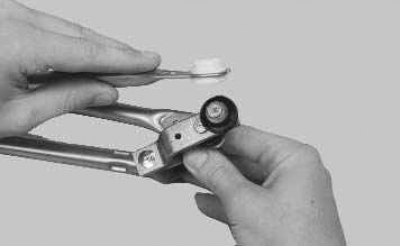

17. Remove the tie rod from the crankshaft ball joint on one side…
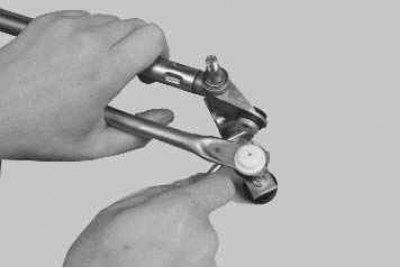

17. Remove the tie rod from the crankshaft ball joint on one side…


18. …prying with a screwdriver if your hands don't have enough force…


18. …prying with a screwdriver if your hands don't have enough force…

Original text on the website Ladaman.ru
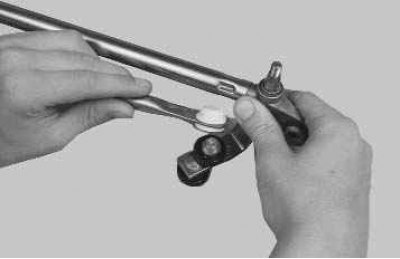
19. …and remove the rod from the other side of the crank.
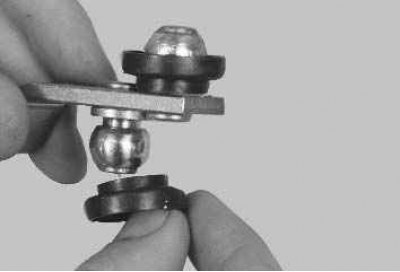

19. …and remove the rod from the other side of the crank.

20. Replace cracked or loose ball joint seals.
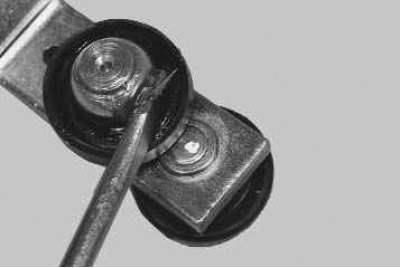

20. Replace cracked or loose ball joint seals.

21. Apply new grease to the wiper linkage joints.


21. Apply new grease to the wiper linkage joints.

22. Assemble and install the windshield wiper in the reverse order of removal.


This article is available at russian, bulgarian, belarusian, ukrainian, serbian, croatian, romanian, polish, slovak, hungarian
This article has been reviewed: Vladislav Voloshin
Share with friends:
◀ Previous
Lada Priora 1: Equipment and devices
Next ▶

Possible malfunctions of the windshield wiper
Windshield wiper design features
Engine Management System Sensors
Electronic engine control unit (controller)
Operation of the fuel injection system
Removal and installation the washer reservoir
Checking and replacing the washer pump with an electric motor
Rear window heating system
Replacing the cigarette lighter and its backlight lamp
Removal and installation the instrument cluster
More articles with information from manuals for Lada:

• Windshield Wiper — Motor Gear Replacement Lada Kalina Hatchback (2004-2013, VAZ-1119)
• Windscreen wiper switch Lada Granta 1 (2011-2023, VAZ-2190)
• Windscreen wiper blades — replacement Lada Vesta 1 (2015-2023, VAZ-2180)
• Windshield wiper Lada Largus 1 (2012-2023)
• Troubleshooting Windshield Wiper Problems Lada X-Ray 1 (2015-2022)
Link to this article in various formats
Reviews and comments of visitors
No comments yet


Add up two numbers: 18 + 39


Priora 1 (2007-2018) 
  • General information
  • Vehicle device
  • User manual
  • Faults en route
  • Maintenance
  • Power unit
  • Engine repair
  • Cooling and lubrication system
  • Supply system
  • Exhaust system
  • Transmission
  • Clutch
  • Car gearbox
  • Drive shafts
  • Chassis (running gear)
  • Car suspension
  • Steering
  • Brake system
  • Body and interior
  • Exterior (external elements)
  • Interior (internal elements)
  • Doors, locks and windows
  • Electrical equipment
  • Equipment and devices
  • Power devices
  • Lighting and signaling
  • Cooling and heating
  • Electrical circuits
LadaMan.ru © 2018–2026 | Mobile version | About Lada | Sitemap: EN BG BY UA RS HR RO PL SK HU | Contacts with admin | | Add to bookmarks
Kalina Hatchback (2004-2013) | Kalina Sedan (2004-2013) | Granta 1 (2011-2023) | Priora 1 (2007-2018) | Vesta 1 (2015-2023) | Largus 1 (2012-2023) | X-Ray 1 (2015-2022) |
This site uses cookies to ensure everything runs smoothly.