
Recommendation. Before starting work, purchase spare holders, as these parts often break during the dismantling process.
It is advisable to perform the final operations for removing the lining with an assistant.
Execution sequence
1. We prepare the car for work (see «Preparing the car for maintenance and repair»).
2. Remove the rear lights (see «Rear light - removal and installation»).
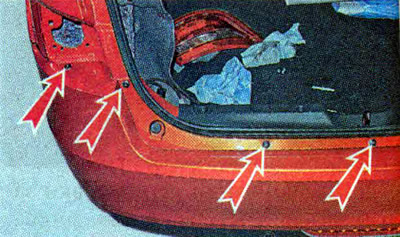
3. From the bottom of the car, use the TORX T30 key to unscrew the three bolts of the rear...

...two side bolts.

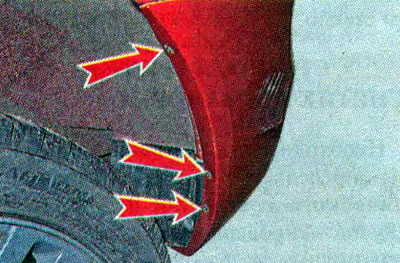
4. In the wheel arches, use the TORX T20 wrench to unscrew three mounting bolts.
5. Using the TORX TZO wrench, we unscrew the four bolts of the left fastening. Similarly, we unscrew the fastening bolts on the right.
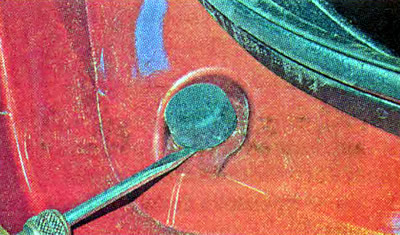
6. We pry with a slotted screwdriver and remove the cap.
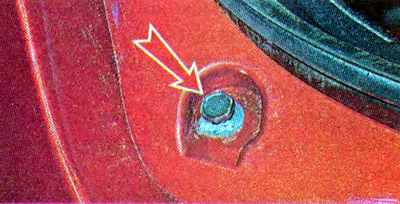
7. Using a 13 mm key, unscrew the fastening bolt.
8. Similarly, unscrew the fastening bolt from the opposite side.
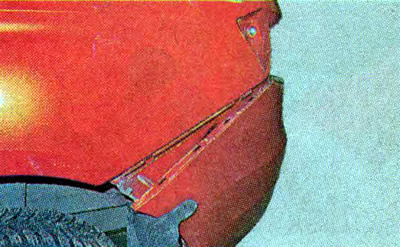
9. We disengage from the brackets of the sidewall of the lining.
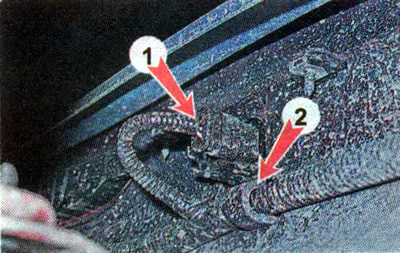
10. We remove the bumper pad from the car and disconnect the wiring harness block from the fog lamp (see «Rear fog light lamp - removal and installation») and parking sensors 1. Disconnect the wiring harness from the holders 2 on the trim.
11. Remove the bumper cover.
12. Install the trim in reverse order.