



To extend the life of the lock and to prevent it from jamming, it is necessary to periodically lubricate its mechanical part (see "Lubrication of hinges and locks").
Sequence of execution
1. Prepare the car for work (see "Preparing the car for maintenance and repair").
2. Remove the rear door trim (see "Door trim - removal and installation").
3. Remove the inner door handle in the same way as the inner front door handle (see "Inner door handle - removal and installation").
4. Press the lock and disconnect the wiring harness connector from the lock.
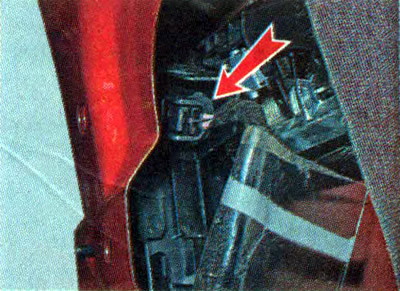
5. Remove the outer door handle with the bracket (see "External door handle - replacement"). Disconnect the lock drive cable from the bracket.
6. Remove the glass guide (see "Door glass - removal and installation").
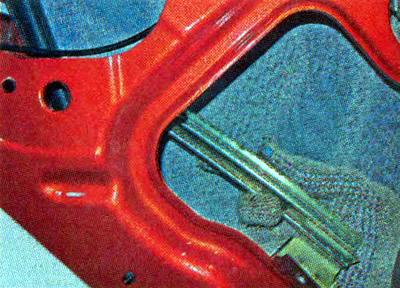
7. Using a TORX T30 key, unscrew the three mounting screws and remove the lock.
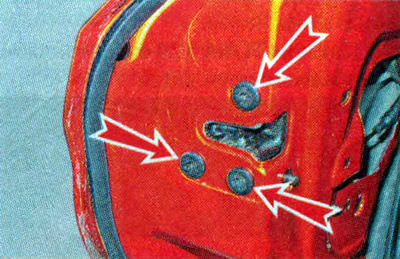
Recommendation. Lubricate the lock mechanism with plastic grease and apply thread lock to the lock mounting screws.
8. Install the parts in reverse order.
Recommendation. After installing the lock, check the ease and tightness of the door closing. Adjust the lock if necessary.
9. Mark the position of the lock retainer to enable return to the original installation.
10. Using a TORX T40 key, loosen the two bolts securing the lock retainer.
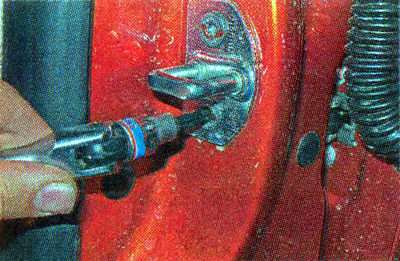
11. By moving the lock forward and backward and right and left, we achieve easy and tight closing of the door.
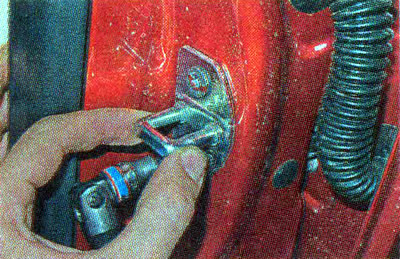
12. After completing the adjustment, tighten the lock retainer mounting screws to the specified torque of 22 Nm.