



To complete the job you will need two pieces of wire and a rubber bulb.
Sequence of execution
1. Prepare the car for work (see "Preparing the car for maintenance and repair").
2. Disconnect the wire terminal from the negative terminal of the battery (see "Battery - Removal and Installation").
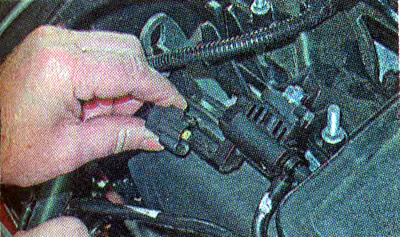
3. Press the lock...
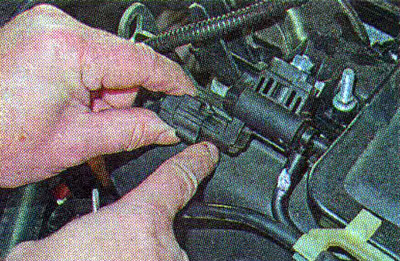
...and disconnect the wiring harness block from the valve.
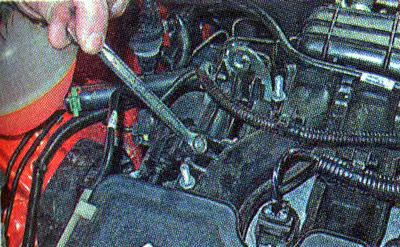
4. Using a 10 mm wrench, unscrew the mounting nut.
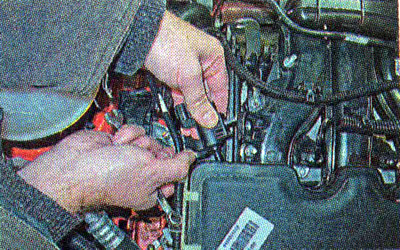
5. Disconnect the two tubes and remove the valve.
6. Visually check that the connector terminals are in good condition. If oxides are found on them, we treat the terminals with a cleaning agent and protector for electrical contacts.
7. Create a vacuum through the side fitting in the valve using a rubber bulb (the valve should not let air through).
Warning: To avoid short circuit, one terminal of the valve should be insulated with PVC tube during the following operation.
8. Apply 12 V voltage from the battery to the valve terminals. The valve should open and let air through.
Note: When the valve opens, a characteristic click is heard.
9. Replace the faulty valve. We install the valve in the reverse order.