
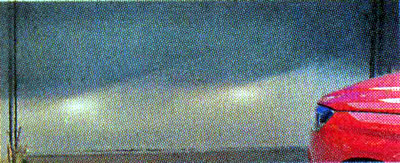
Recommendation. The test should preferably be done at night.
Comment. It is convenient to adjust the headlights using a special optical device, but if necessary, the headlights can be adjusted quite accurately on their own.
To perform the work, you will need a horizontal platform next to a flat vertical surface (for example, near the wall of the house) or a sheet of plywood (thick cardboard) size approx. 2x1 m, tape measure 10 m long, cardboard sheet (to cover one block headlight), as well as an assistant or a load weighing about 75 kg.
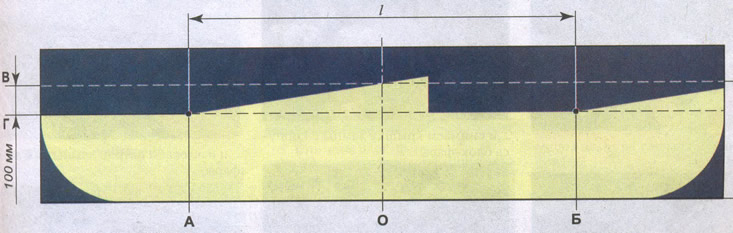
Screen layout for fog light adjustment: A - a vertical line indicating the location of the left fog lamp bulb; B - a vertical line indicating the location of the right fog lamp; B - a horizontal line indicating the location of the fog lamps; G - a line indicating the height of the upper horizontal border of the light; O - center line; l - distance between the centers of the fog lamps, h - distance from the surface of the site on which the car is installed to the fog lamps
Execution sequence
1. If necessary, wash the headlights and wipe dry.
2. We install a fully charged and equipped (spare wheel, tool, jack) car on a flat horizontal platform perpendicular to the selected vertical surface, so that the distance from it to the center of the headlight is 10 m. It is possible to install a sheet of plywood measuring 2x1 m in front of the car under the same conditions.
3. Check tire pressure (see «Checking tire pressure») and, if necessary, bring it to the norm.
4. Set the headlight electrocorrector control to position «0».
5. We seat the assistant in the driver's seat (or stow the load), after which we vigorously shake the car to self-install the suspension.
6. We measure the distance h from the surface of the site to the center of the lamp and the distance / between the centers of the headlights.
7. We mark the screen according to the figure.
8. Turn on the dipped beam.
9. We close the right headlight with a sheet of cardboard.
Comment. Do not cover the switched-on headlights with rags or other objects that impede the access of air to the headlight cap for more than three minutes, since the caps are made of plastic, which can deform when overheated.
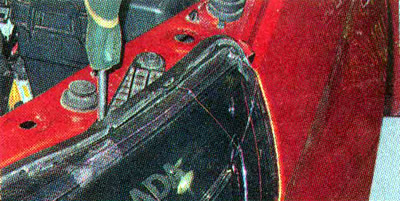
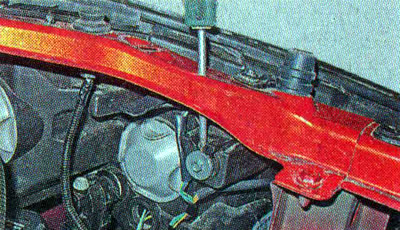
10. Turning with a Phillips screwdriver or a 6 mm hex wrench...
... adjusting screw, combine the upper horizontal border of the light with the G line.
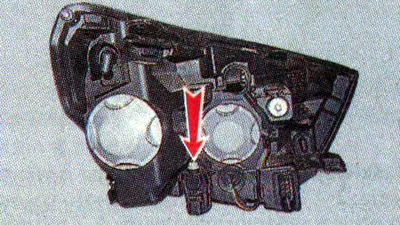
11. Then, with a Phillips screwdriver or a 6 mm hex wrench, turning the second adjusting screw, we combine the break in the upper border of the light with the vertical line A.
Comment. A slight deviation of the fracture is allowed downwards, no more than 20 mm and to the right, no more than 100 mm.
12. Open the right headlight and close the left one with a sheet of cardboard. Similarly, we adjust the dipped beam of the right block headlight. If the border of the light is fuzzy, then the dipped beam lamp may be defective or the headlight lens is damaged. Turbidity of the lens surface can be eliminated by polishing the headlights (see «headlight polishing»). If you cannot adjust the beam of light, check the installation of the headlight and lamp.