



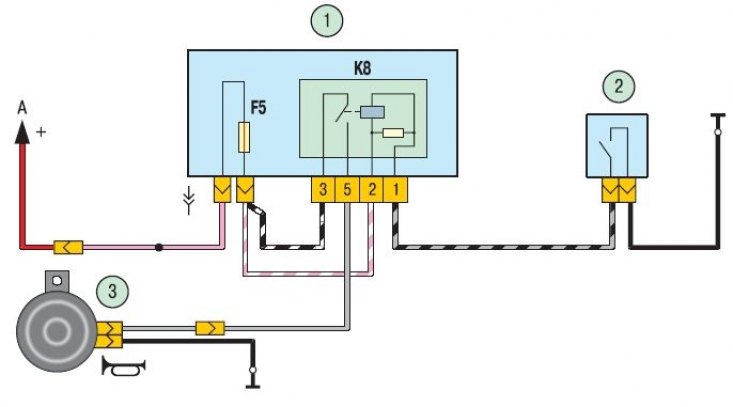
Figure 10.9. Sound signal connection diagram: 1 – mounting block; 2 – Sound signal switch; 3 – sound signal; A – to the main fuse box (F3); B – to the control unit of the electronic anti-theft system, terminal "20"; K8 – sound signal relay
The circuit diagram for turning on the sound signal is shown in the figure 10.9.
If the signal becomes quieter or a wheezing sound appears, you can try adjusting the signal with the adjustment screw.
You will need a 13 mm wrench.
1. Remove the front bumper (see "Removing and installing the front bumper").
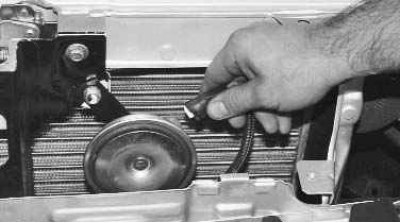
2. Disconnect the wiring harness connector from the horn. Check the signal contacts and the wiring harness connectors. If they are oxidized, clean them.
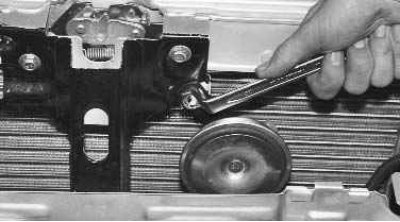
3. Unscrew the mounting nut and remove the horn assembly with the bracket.
4. If cleaning the contacts does not produce results, disconnect the wire from the negative terminal of the battery and the wiring harness connector from the signal.
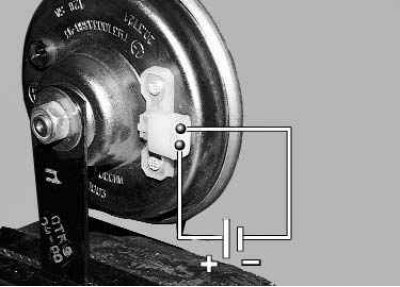
5. Clamp the signal in a vice by the bracket. Connect the wires to the battery and the horn contacts (minus to the upper horn contact, plus to the lower one).
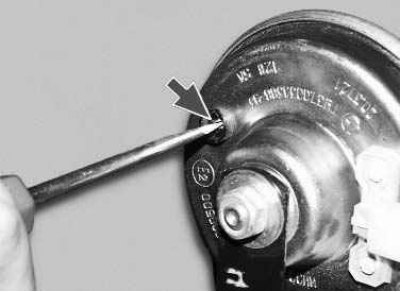
6. Turn the adjusting screw (slowly) with a screwdriver until the signal sounds loud and clear. If this fails, replace the signal.