
Warning! Do not touch the bulbs of halogen lamps with your fingers. Work in clean cotton gloves without rubber coating. Oily fingerprints remaining on the lamp bulb will shorten its service life by several times. After accidentally touching the bulb with your fingers, wipe the bulb with a clean cloth dampened with alcohol.
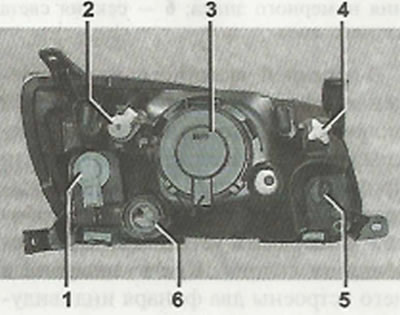
headlight unit: 1 - turn signal lamp; 2 - horizontal light adjustment screw; 3 - low and high beam lamp; 4 - vertical light adjustment screw; 5 - a lamp of side light and daytime running lights; 6 - hole for connecting the headlight hydrocorrector.
High and low beam lamp
1. We prepare the car for work («Preparing the car for maintenance and repair»). Turn off outdoor lighting.
2. Remove the cover of the high / low beam section.
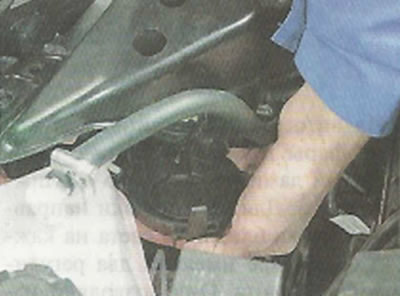
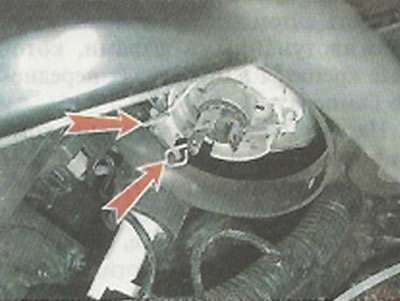
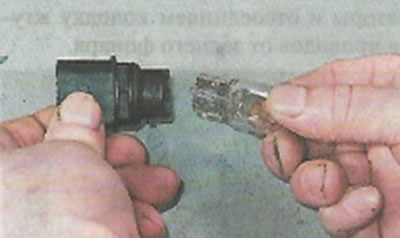
3. Remove the wire block from the lamp output.
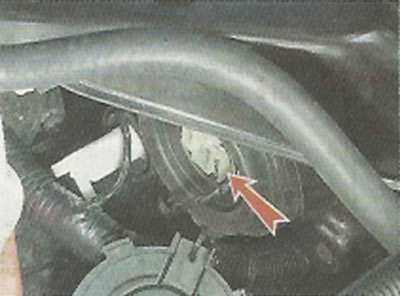
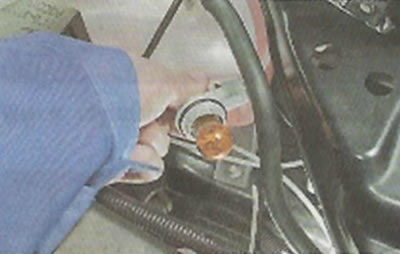
4. Remove the sealing sleeve.
5. We release the latch by removing the ends of the spring latch from the grooves.
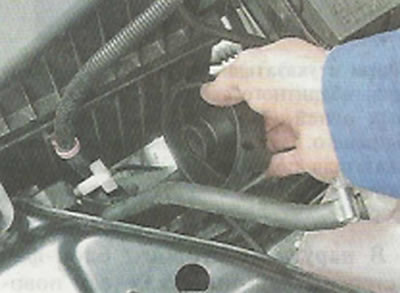
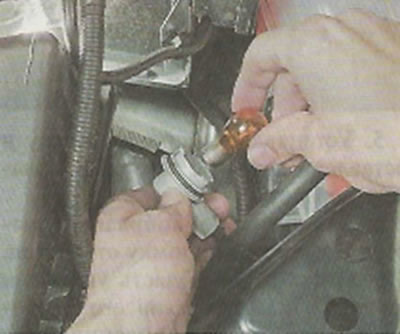
6. We remove the faulty lamp.
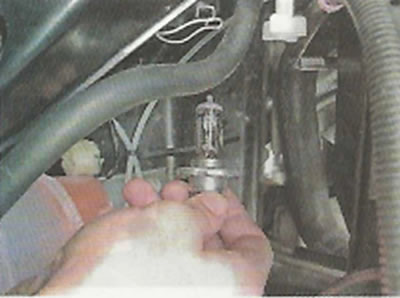
7. Install a new lamp in reverse order.
Side light and daytime running lights
1. Turn off outdoor lighting.
2. Without disconnecting the wiring harness block, turn counterclockwise...
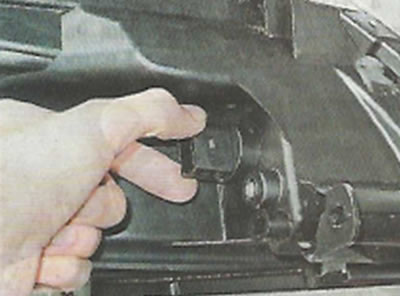
... and take out the lamp holder for the side light and daytime running lights (for clarity, shown on the removed block headlight).
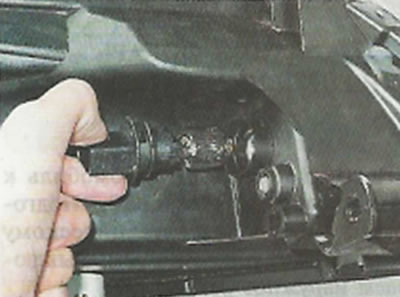
3. We replace the faulty lamp.
4. We insert the cartridge with a new lamp into the headlight and turn it clockwise until it locks.
Turn signal lamp
1. We prepare the car for work («Preparing the car for maintenance and repair»). When replacing the right turn signal, remove the windshield washer reservoir («Windshield washer reservoir - removal and installation»).
2. Turned counterclockwise turn signal lamp socket.

We remove the cartridge together with the lamp from the pointer housing.
3. We slightly sink the faulty lamp into the cartridge and, turning it counterclockwise, remove it from the cartridge.
4. We replace the faulty lamp.
5. Install the cartridge with the lamp in the pointer and turn it clockwise until it locks.