



Note: Cable catalog numbers see here.
The cable needs to be replaced when it needs to be adjusted frequently enough to compensate for the increase in cable length due to stretching. Also, the cables can lose mobility in their sheaths due to infrequent use of the parking brake system (use it whenever necessary). A properly functioning system should keep the vehicle on a 23% incline with a lever stroke of approximately 7 cogs (clicks). Normally, the parking brake lever system does not need to be adjusted more than once a year, but if adjustment is required on a monthly basis, the cable must be replaced.
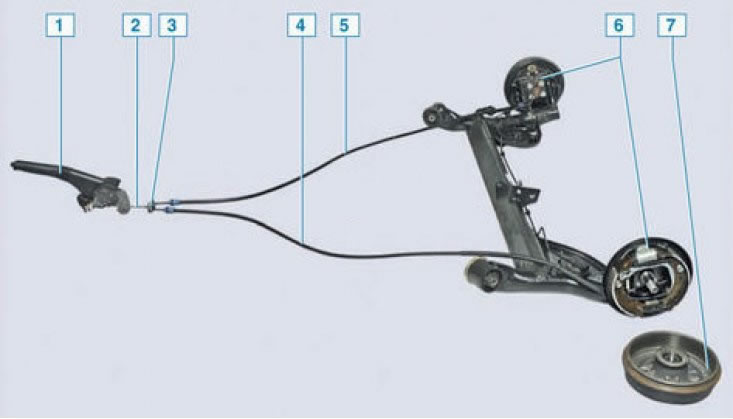
Handbrake device: 1 – handbrake lever; 2 – front (small) handbrake cable; 3 – cable equalizer; 4 – left rear cable; 5 – right rear cable; 6 – rear brake mechanism; 7 – rear brake drum
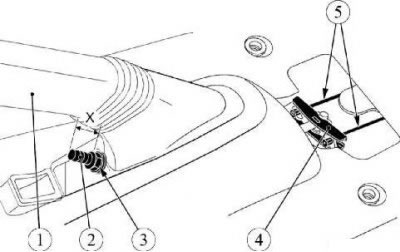
The structure of the lever and cable assembly: 1 - parking brake lever; 2 - hand brake lever equalizer cable; 3 - adjusting nut; 4 - handbrake cable equalizer; 5 - handbrake cables; X - adjustment size for tensioning cables, X = 16±0.3 mm
Removal
Place the vehicle on a two-post lift, apply the parking brake and turn off the ignition.
Remove the rear section of the floor tunnel trim. (see here).
Loosen the parking brake cables: To do this, lift the parking brake lever...
We remove the cover cap of the lever, which covers the adjusting nut.
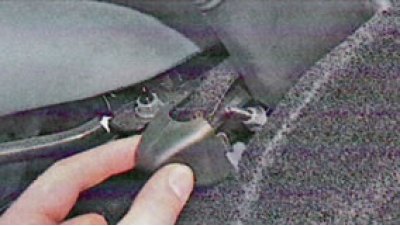
... and the key "by 10" (or high head) almost completely unscrew the adjusting nut (No. 3 in Figure 17-1) of the drive on the threaded end of the front cable.
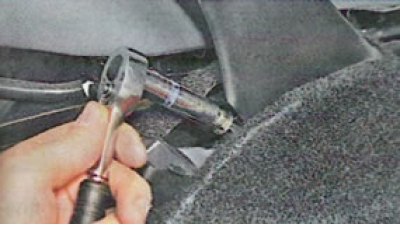
Lower the lever.
Remove the rear wheels.
Remove the rear brake drums. (see here).
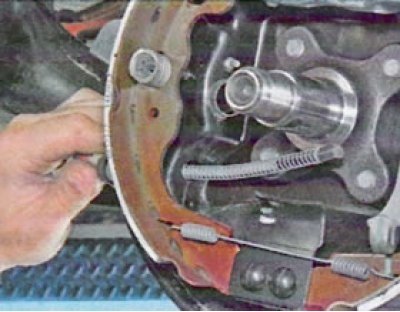
By moving the lever with a screwdriver (compressing the spring)...
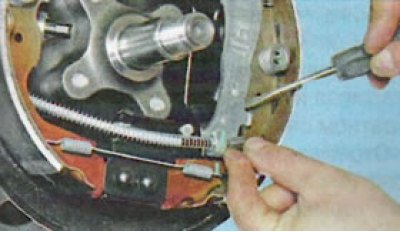
Disconnect the cable from the brake shoe drive lever.
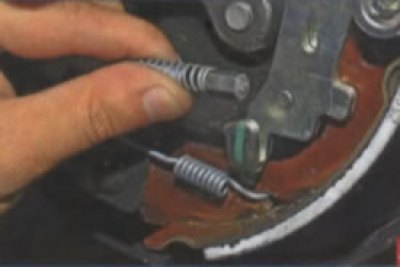
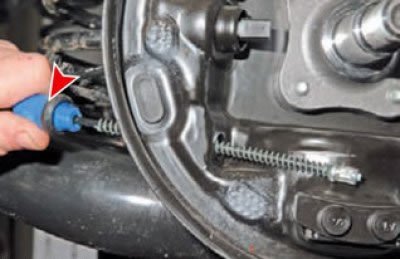
Use pliers to squeeze the tabs of the cable end retainer...
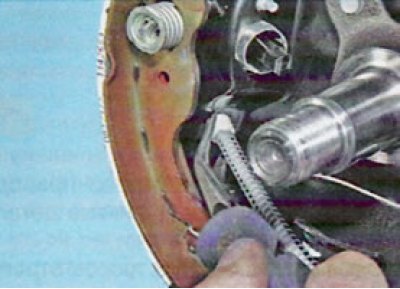 |
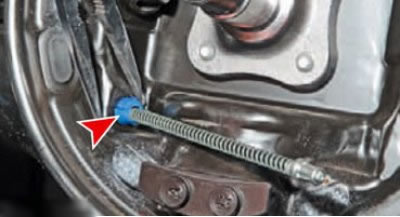 |
... remove the cable end from the hole in the brake shield.
 |
 |
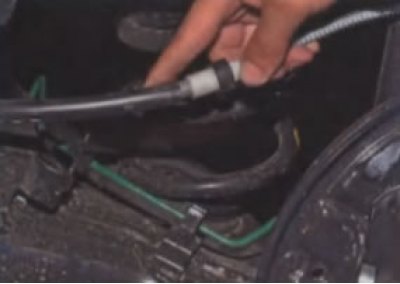
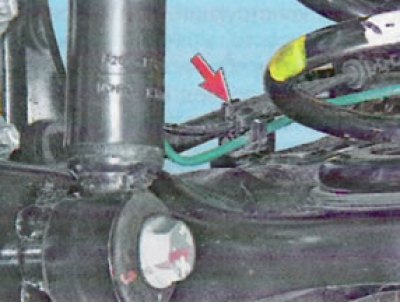
Remove the cable from the guide holes in the brackets on the rear suspension arms and in the brackets that mount the rear suspension arms to the body.
 |
 |
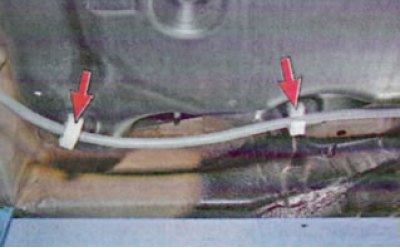
Release the cable from the fastening brackets to the gas tank, fuel line and bottom (flat head screwdriver).
Article based on information from the website: LadaMan.ru
Using pliers, unscrew the three nuts securing the heat shield...
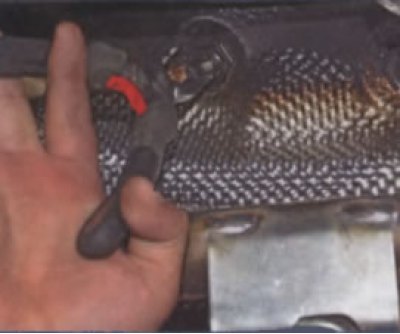
... and we take it off.
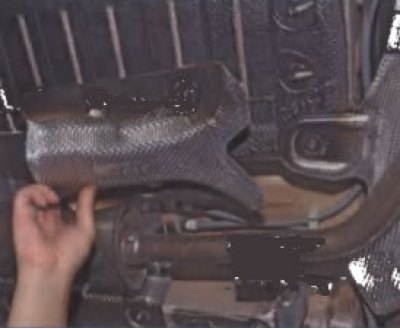
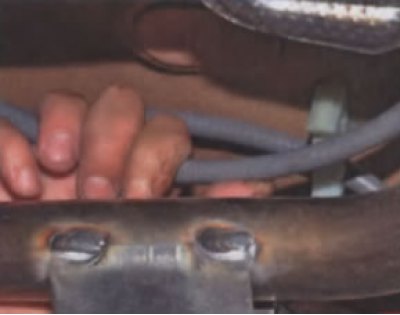
Remove the cable from the plastic holder on the bottom.
 |
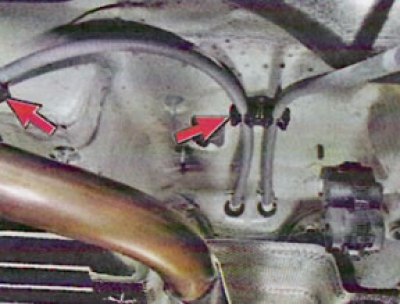 |
The cables are released from all holders.
Now, pulling the cable a little into the passenger compartment (pliers)...
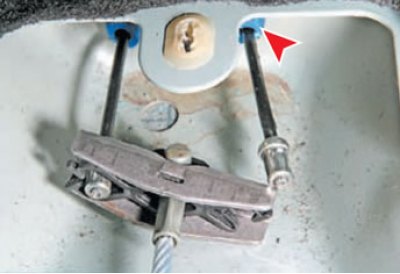
... we remove the cable tip from the groove in the equalizer. Using pliers, squeeze the petals of the front end of the cable sheath retainer (red arrow)...
(Note: This operation is not easy to perform as you have to work in a tight space. But if the cable is removed for replacement, then you can simply break the plastic petals of the retainer)
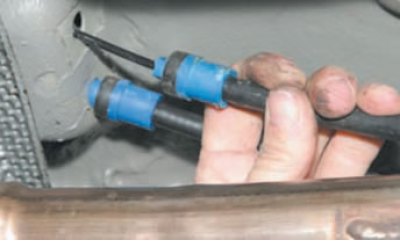
... and we take the cable out from below through the hole in the bottom.
Helpful Hint: If the cable is difficult to move in the sheath after being removed from the vehicle, lubricate it. Pour engine or transmission oil into the shell until it begins to flow out the opposite end of the shell. During the pouring process, periodically move the cable in the sheath.
Installation
Install the cables into the guide holes in the brackets that mount the rear suspension arms to the body and in the brackets on the rear suspension arms.
Install the cable sheath ends into the holes in the brake shields and connect the cables to the rear brake shoe drive levers (flat head screwdriver, pliers).
Install the cable sheath tips into the holes in the body floor tunnel and secure the cable sheaths in the mounting brackets to the body bottom, to the fuel tank and to the fuel line.
Install the rear brake drums.
Install the rear wheels.
Connect the cables to the hand brake lever equalizer.
Adjust the hand brake lever.
Install the floor tunnel lining.
Check the efficiency of the service brake system.
Replacing the front (short) cable
Completely release the tension on the cables by unscrewing the adjusting nut to the end of the threaded end (see above).
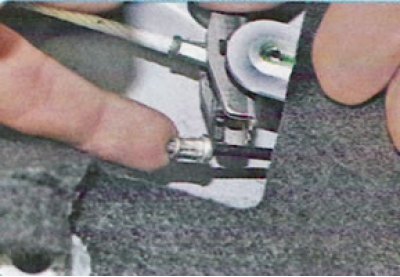
Disconnect both rear cables from the equalizer.
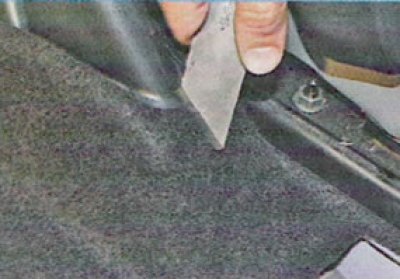
Using a knife, carefully cut the carpeted floor behind the parking brake lever.
Note: The floor mat must be cut to gain access to the lower portion of the parking brake lever without completely removing the front seats and floor mat. The cut part of the mat will not be visible as it is covered by the floor tunnel lining.
Fold the cut pieces of carpet to the sides.
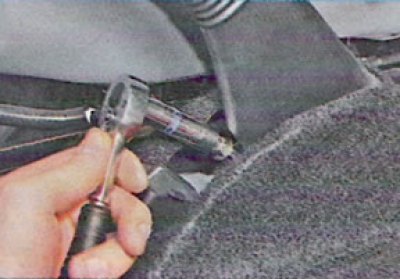
Completely unscrew the adjusting nut from the threaded end of the cable...
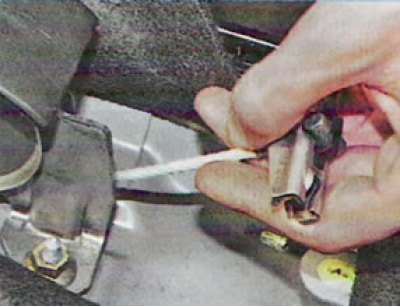
...and, pulling the cable back from the slot in the parking brake lever, remove the cable assembly with the equalizer.
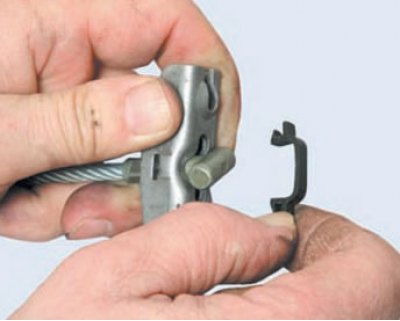
Using a screwdriver, we remove the plastic fasteners of the front cable tip from the equalizer one by one.
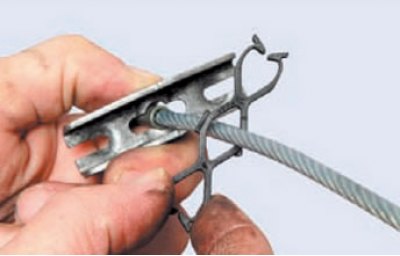
We remove the front cable from the equalizer. We install the front parking brake cable in the reverse order.
Adjusting the parking (hand) brake
We remove the rear part of the floor tunnel lining. (see here).
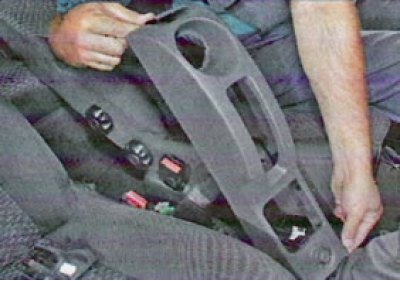
Remove the cap from the adjustment screw.
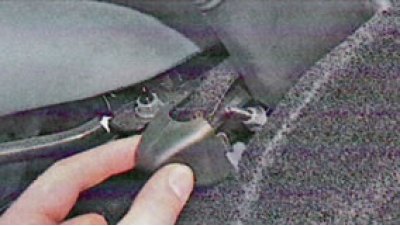
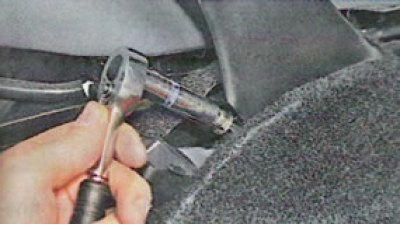
By tightening or loosening the adjusting nut (10 mm wrench), ensure that the handbrake lever travel is approximately 6-7 clicks.
Perform several full strokes of the lever, as if with the button pressed (no clicks), and so it is with the released one.
Release the lever.
If the adjustment is made on the ground, jack up the car on each side in turn and turn the rear wheel. The wheel should rotate freely and evenly.
When the lever is tightened, the wheels should be locked. (The vehicle must be able to maintain a 23% slope).
Install all removed parts.