



Removal
1. Prepare the car for work ("Preparing the car for maintenance and repair").
2. Relieve the fuel pressure ("Fuel Line - Pressure Relief").
Warning! After releasing the pressure, a small amount of fuel remains in the fuel line.
3. Having lifted the rear seat cushion, we bend back the edges of the mat and sound insulation above the hatch cover. Using a Phillips screwdriver, unscrew the four screws securing the hatch cover and remove the cover.
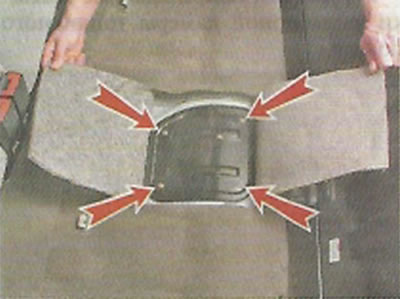
4. Remove accumulated dust and dirt from the fuel module.
5. Having released the retainer, we disconnect the wiring block from the fuel module.
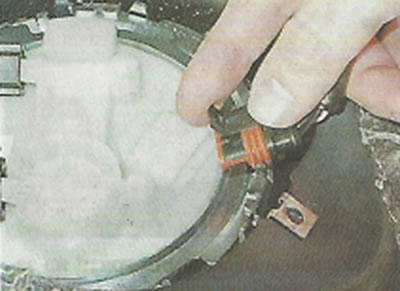
6. By squeezing the clamps, disconnect the ends of the fuel line tubes from the fuel module.
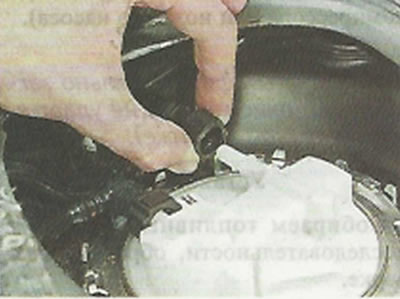
7. Remove the tubes from the module.
8. Using light hammer blows through the punch, unscrew the fuel module clamping ring counterclockwise.
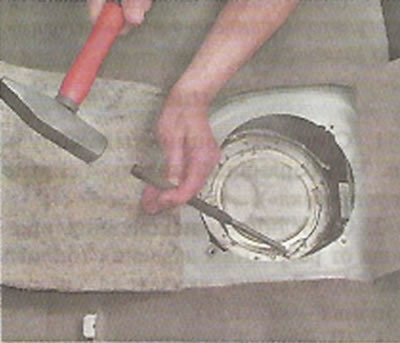
9. Remove the fuel module from the tank.
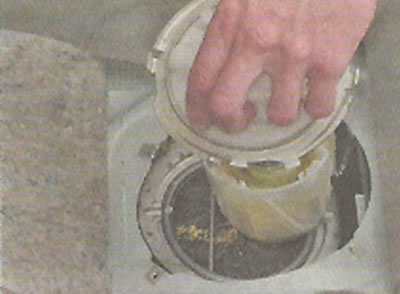
Warning: When removing the fuel module, do not bend the fuel gauge sensor lever. To do this, tilt the module slightly and carefully remove the float from the tank hole.
10. Replace the damaged sealing gasket.
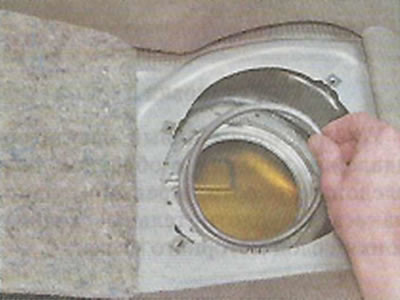
Installation
1. Carefully insert the float into the tank opening, install the fuel module and orient it in the tank so that arrow 1 on the fuel module cover points backwards (in the direction of the car), and protrusion 2 entered the groove of the flange welded to the fuel tank.
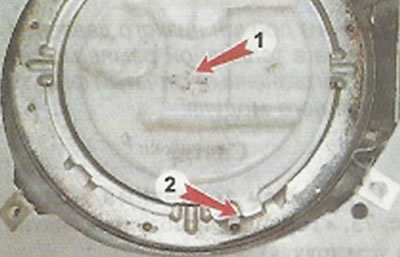
2. Turn the pressure ring towards the tank and turn it clockwise until it stops.
3. After making sure that the fuel module is securely fastened, connect the fuel line tube ends and the wiring harness block to it.
4. Turn on the ignition for 5 seconds and check the tightness of the connections. If necessary, check the fuel line connections.
5. Once the work is completed, install the hatch cover and rear seat cushion back in place.