



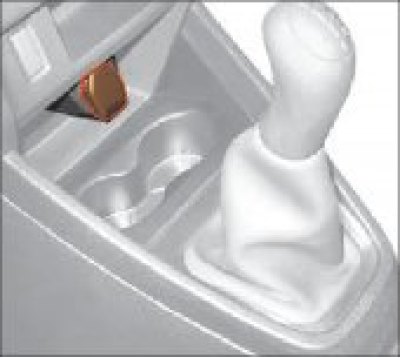
Figure 7.5. Socket for connecting additional electrical equipment
Warning!
- the socket for connecting additional electrical equipment is used to connect only 12-volt electrical appliances designed for a voltage of 12 V, a maximum power of 120 W and a maximum current of 10 A.
- Overloading the outlet can cause damage to the vehicle's electrical wiring and short circuits. do not use more than one electrical appliance.
- if the plug (connector) of an electrical appliance is placed too loosely or too tightly in the socket, this may result in poor contact or cause the plug (connector) to become jammed. Use electrical appliances only with plugs (connectors) suitable for use with SAE standard connectors.
- do not leave electrical appliances plugged into the socket if the driver and passengers leave the vehicle or if the vehicle is parked for a long time (stored).
- do not connect electrical appliances that supply current (for example, batteries).
- Connected electrical devices must comply with DIN VDE 40839 in terms of electromagnetic compatibility, otherwise malfunctions in the vehicle may occur.
- close the cover of the socket for connecting additional electrical equipment when the socket is not in use. Inserting foreign objects other than the appropriate plugs (sockets), or allowing foreign objects or any liquid to enter the socket may cause a malfunction of the vehicle's electrical system or a short circuit.
Installing a cigarette lighter
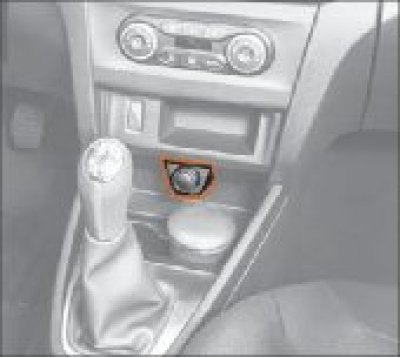
Figure 7.6. Installing the cigarette lighter
- Instead of a socket for connecting additional electrical equipment, the LADA dealer provides the ability to install a cigarette lighter at the consumer's expense, and ashtrays in the cup holders (Figure 7.6).
- To use the cigarette lighter, press the socket button until it locks into place. After approximately 20 seconds, the cartridge automatically returns to its original position, ready for use. The cigarette lighter works even when the ignition is off.
- The standard cigarette lighter socket is subject to all warnings that apply to the accessory socket.
- When leaving children unattended in a vehicle, as a precaution, ensure that the cigarette lighter is out of reach of children.
- When replacing, use only the types of cigarette lighters recommended for the vehicle in question.
- Always insert the movable part of the cigarette lighter into the socket when the socket is not in use.
Warning! Do not touch the heating element of the cigarette lighter with your hands, this may cause a burn or damage the heating element.
Socket for connecting additional electrical equipment in the luggage compartment
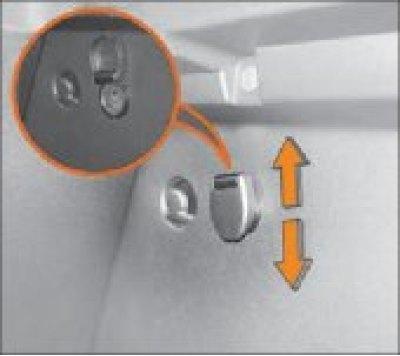
Figure 7.7. Socket for connecting additional electrical equipment in the luggage compartment
(Original is available on this resource: www.ladaman.ru)
Socket for connecting additional electrical equipment (Figure 7.7) used to connect only 12-volt electrical appliances rated for 12 V, maximum power 120 W and maximum current 10 A.