



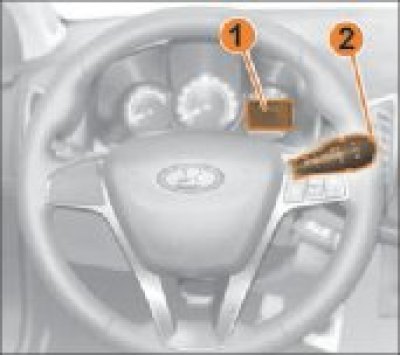
Figure 3.6. Trip computer control buttons on the windshield wiper switch: 1 – On-board computer display. 2 – Trip computer control buttons on the windshield wiper switch.
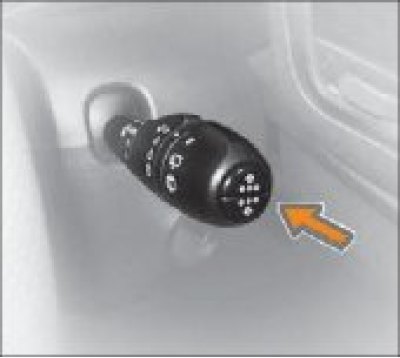
Figure 3.8. Trip computer control buttons on the windshield wiper switch
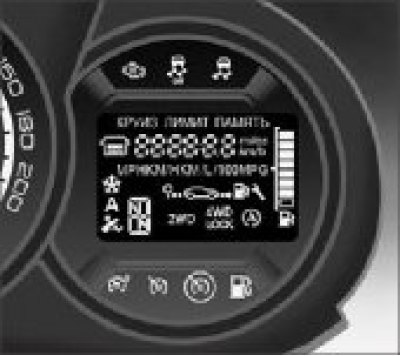
Figure 3.7. On-board computer display
By short pressing of button 2 "Up"
 right steering column switch (Figure 3.6) display 1 shows the following information in sequence:
- 1. total mileage counter;
- 2. trip odometer #1 (from the moment the readings were reset);
- 3. total fuel consumption (from the moment of group reset of readings);
- 4. average fuel consumption (from the moment of group reset of readings);
- 5. current (instantaneous) fuel consumption;
- 6. estimated (approximate) range on remaining fuel;
- 7. trip odometer #2 (from the moment of group reset of readings);
- 8. average speed (from the moment of group reset of readings);
- 9. Setting tire pressure (in a variant design);
- 10. set value of the speed limiter or cruise control when the speed limiter or cruise control function is on (in a variant design);
- 11. indication of outside air temperature;
- 12. clock - current time indication (in a variant design).
See Table 1 for examples of display data on the following pages.
Resetting trip meters and other parameters
To reset the readings of trip odometer No. 1, use buttons 2 to select mode b "Trip odometer No. 1" in the on-board computer menu and, pressing any of the scrolling buttons 2, hold it down for a while. The selected value will first start flashing and then be reset.
Resetting the readings of trip odometer No. 2 is possible only together with resetting a group of other readings of the on-board computer:
- 1. total fuel consumption;
- 2. average fuel consumption;
- 1. trip odometer #2;
- 2. average speed.
That is, when one of these readings is reset, the entire group is reset. To reset a group of these readings, use buttons 2 to select any of the modes c, d, g, h in the on-board computer menu and, pressing any of the scrolling buttons 2, hold it down for a while. The selected value will first start flashing, and then all four readings in the group will be reset to zero.
In addition, when the maximum value of the trip odometers is exceeded, the parameters are reset automatically.
Explanation of some of the data shown on the display after resetting the readings
The greater the distance traveled since the last reset operation, the more stable and reliable the readings of average speed, average fuel consumption and range on the remaining fuel in the tank will be.
In the first few kilometers of driving after resetting the calculated indicators, you may notice that the range on the fuel in the tank increases while driving. This is because the average fuel consumption since the last reset is taken into account. Average fuel consumption may decrease in the following cases:
- the car has finished accelerating;
- engine temperature has reached normal (and the reset of the calculated indicators was carried out with a cold engine);
- You left the busy city and entered a free country road.
Setting the clock on the on-board computer display (in a variant design)
By briefly pressing any of the buttons 2 on the right steering column switch, switch to the current time display mode on the display 1 of the on-board computer.
By pressing and holding any of the "Up" buttons
 or "Down"
  more than 3 s the watch goes into time correction mode, and the hour digits start flashing (the minutes digits do not blink). Single and short press on the "Up" button
  or "Down"
  will cause the readings to change by one hour. By pressing and holding the "Up" button for a long time
  or "Down"
  the hour values are rapidly changed to the desired current reading.
If you do not press any buttons for 5 seconds after adjusting the hours, the watch will automatically switch to the minute adjustment mode, and the minute digits will start flashing (the clock digits do not blink). Single and short press on the "Up" button
 or "Down"
  will cause the readings to change by one minute. By pressing and holding the "Up" button for a long time
  or "Down"
  the minute values change rapidly to the desired current reading.
If you do not press any buttons for 5 seconds after adjusting the minutes, the watch will automatically switch from the adjustment mode to the current time indication mode.
Examples of data displayed on the on-board computer display
| Display indications | Description of indications | |
| a |  | Total mileage counter, km |
| b | 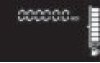 | Trip odometer #1 (from the moment the readings were reset), km |
| c | 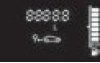 | Total fuel consumption (from the moment of group reset of readings), l |
| d | 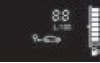 | Average fuel consumption (from the moment of group reset of readings), l/100 km |
| e | 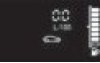 | Current (instantaneous) fuel consumption, l/100 km |
| f | 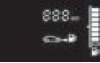 | Estimated (approximate) range on remaining fuel, km |
| g | 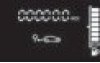 | Trip odometer #2 (from the moment of group reset of readings), km |
| h | 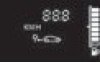 | Average speed (from the moment of group reset of readings), km/h |
| i | 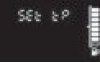 | Setting tire pressure (in a variant design) |
| j | 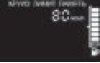 | Set value of the speed limiter or cruise control when the speed limiter or cruise control function is activated (in a variant design), km/h |
| k | 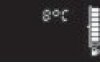 | Outdoor temperature indication,°C |
| l | 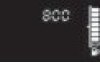 | Clock – current time indication (in a variant design), hh:mm |