
Ceiling lamp with individual lighting
Comment. To replace a defective lamp, it is enough to remove the diffuser of the ceiling. To replace the interior light switch and to clean the contacts of the interior light switch, the dome light must be removed.
Lamp replacement
1. We prepare the car for work («Preparing the car for maintenance and repair»).
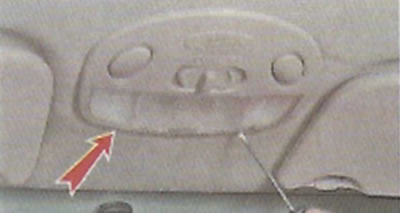
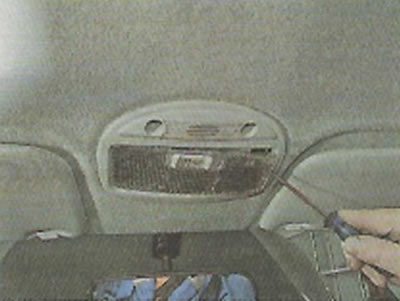
2. With a slotted screwdriver with a thin blade, release the two fixing protrusions and remove the diffuser.
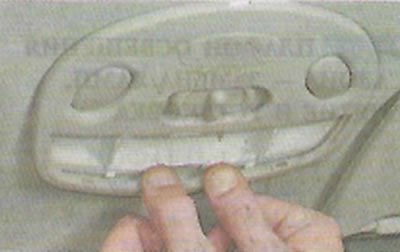
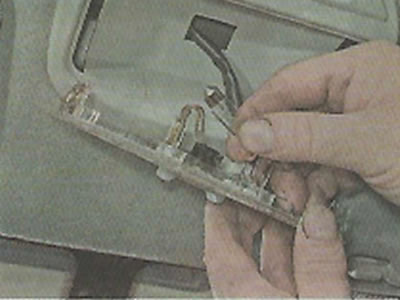
3. To replace the interior lighting lamp, press the spring contacts and remove it. We install a new lamp in the ceiling.
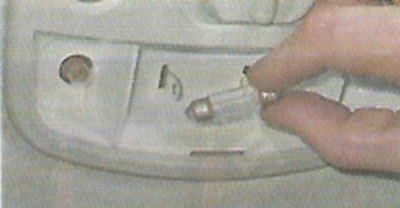
4. To replace the individual lighting lamp, press it and turn it counterclockwise. Install the lamp in reverse order.
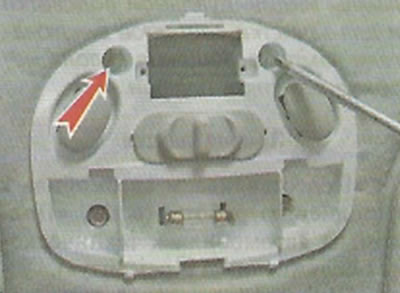
5. We start two protrusions on the lower part of the diffuser into the grooves of the interior ceiling lamp housing and press the upper part of the diffuser until the latches snap into place.
Removing
1. Remove the interior lamp diffuser (see above).
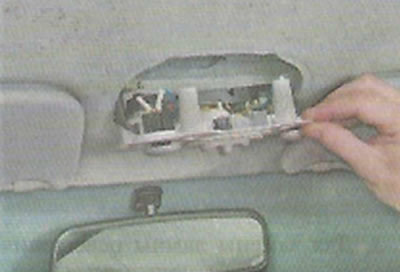
2. We remove the lower part of the cover of the ceiling from engagement with the body.
3. Remove the lining.
4. Using a Phillips screwdriver, unscrew the two screws securing the ceiling to the interior ceiling.
5. We remove the cover from the hole in the upholstery of the ceiling.
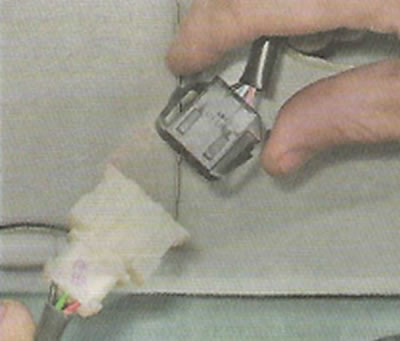
6. Squeezing the spring clips on both sides, disconnect the wiring harness pads.
Installation
Install the plafond in reverse order.
Plafond without individual lamps
Execution sequence
1. We prepare the car for work («Preparing the car for maintenance and repair»).
2. We hook it with a slotted screwdriver and, overcoming the resistance of the spring clips, remove the cover.
3. To replace the lamp, press the spring contacts and remove it. We install a new lamp in the ceiling.
4. We install the interior lighting cover into the housing, press until the latches snap into place.
Comment. The cover housing is removed in the same way as shown above.