



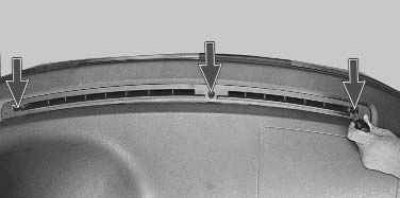
1. Remove the three screws securing the windshield deflector…
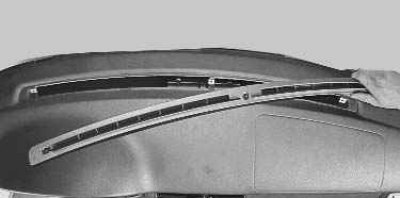
2. ...and remove the deflector.
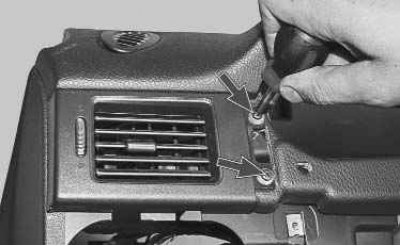
3. Remove two screws…
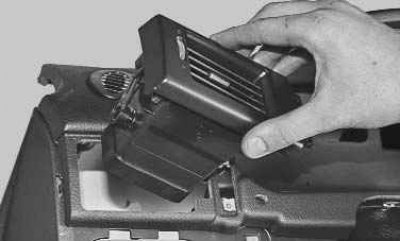
4. …and remove the left nozzle of the ventilation and heating system.
5. Remove the right nozzle in the same way.
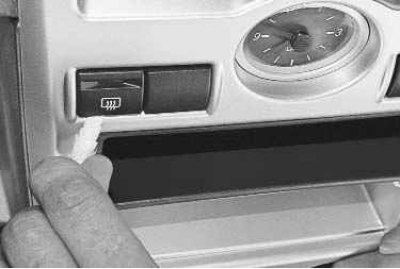
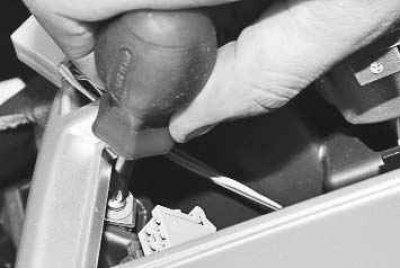
6. Use a screwdriver to pry the rear window defroster switch out of the console trim.
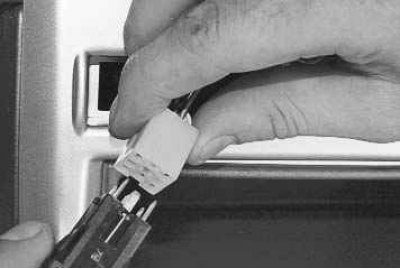
7. Disconnect the wiring harness connector from the rear window defroster switch.
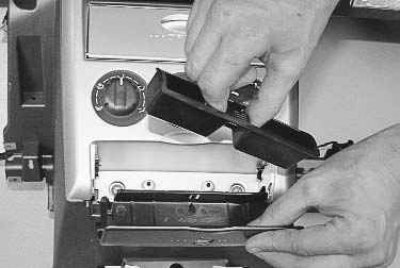
8. Remove the ashtray.
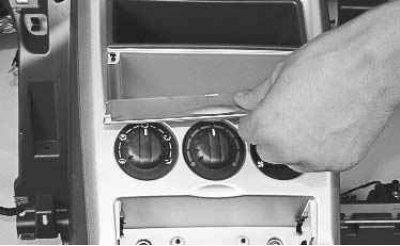
9. Remove the storage compartment cover pins from the console trim holes and remove the cover.
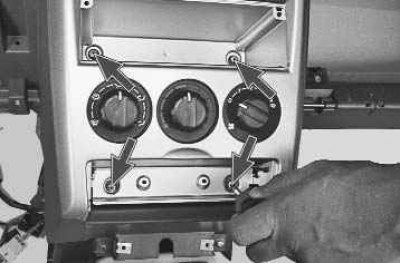
10. Remove the four screws securing the console trim.
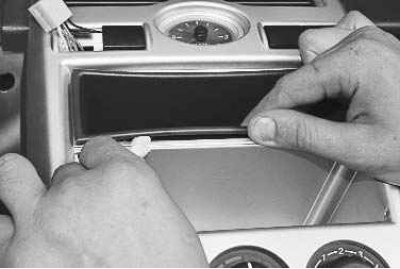
11. Use a screwdriver to pry…
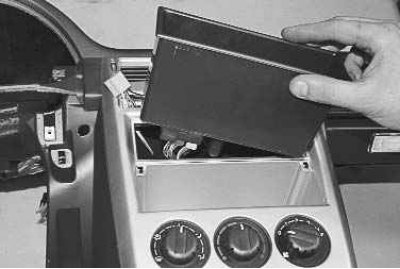
12. …and remove the container from the dashboard (or remove the radio if it is installed).
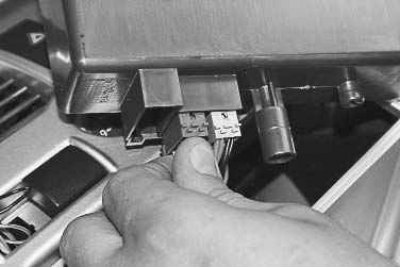
13. Disconnect the audio system harness connectors.
14. Remove the two console trim mounting screws located on the sides of the radio window.
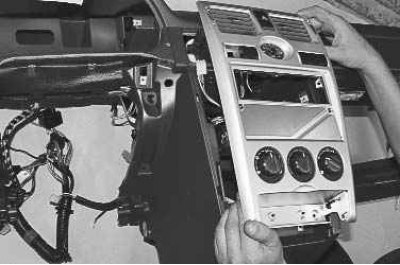
15. Remove the console trim by overcoming the resistance of the spring holders at the top of it.
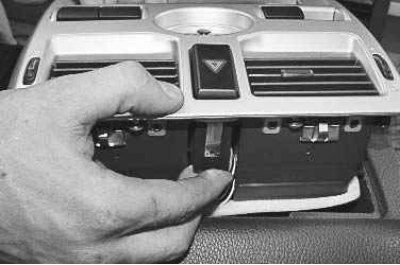
16. Press out from the back side…
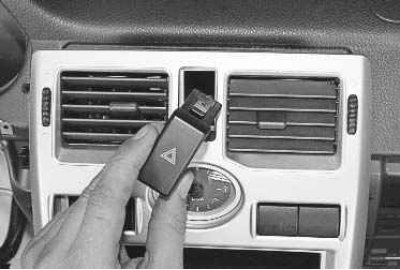
17. …and remove the hazard warning light switch.
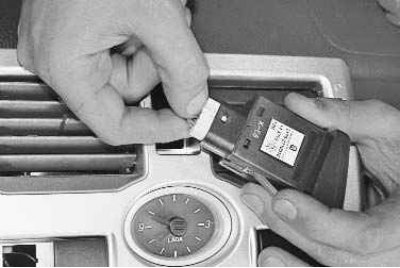
18. Press the wiring harness connector lock…
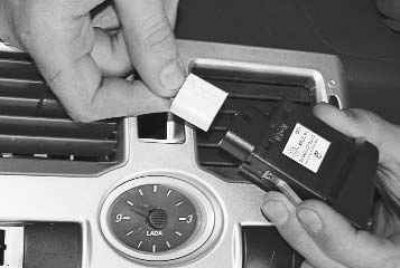
19. …and disconnect the block from the switch.
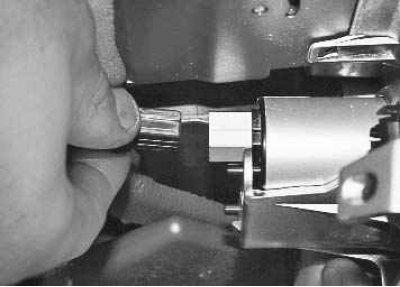
20. Disconnect the wiring harness connectors from the clock…
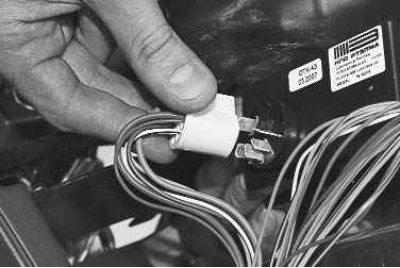
21. …from the heater motor switch…
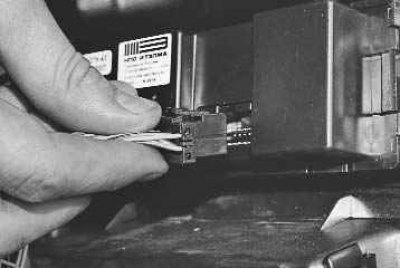
22. …and from the heater control unit.
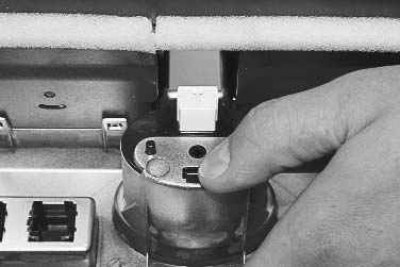
23. Press the latch..
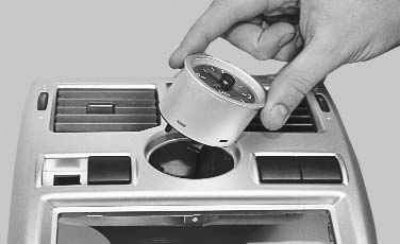
24. …and remove the clock from the console cover.
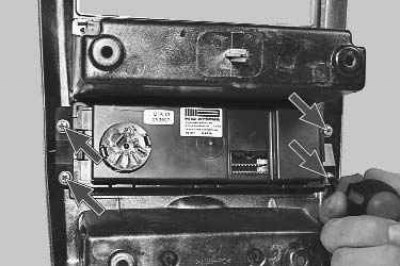
25. Remove the four screws securing the heater control unit to the console trim…
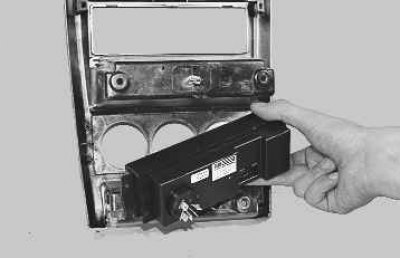
26. ...and remove the block.
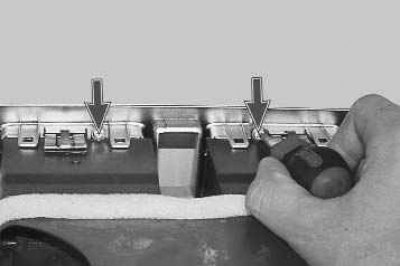
27. Remove the two screws securing the central ventilation nozzle to the console trim.
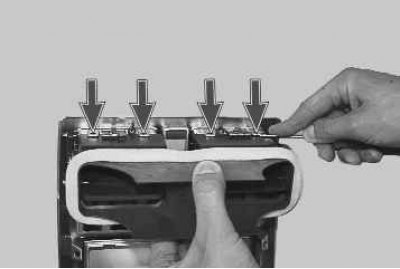
28. Press the four fasteners on top…
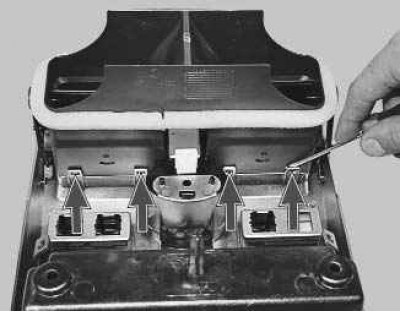
29. …and four clamps below the nozzle…
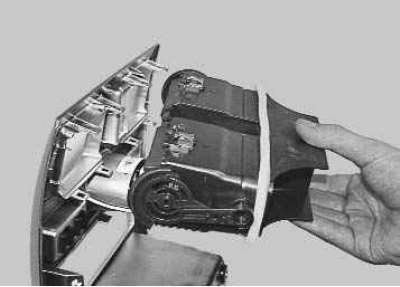
30. …and then remove the nozzle.
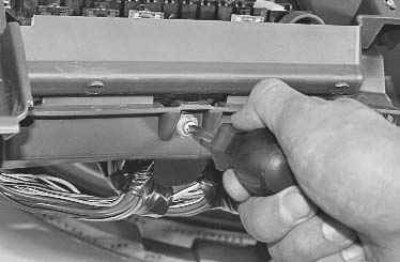
31. Remove the screw securing the fuse and relay box…
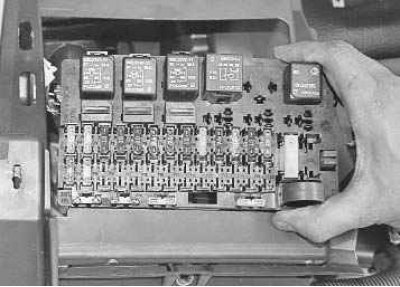
32. ...and remove the block.
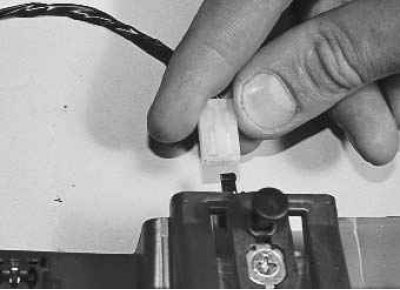
33. Disconnect the wiring harness connector from the glove compartment light switch.
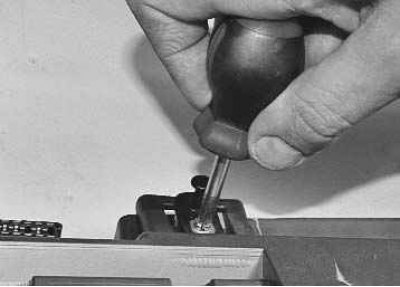
34. Remove the screw securing the switch…
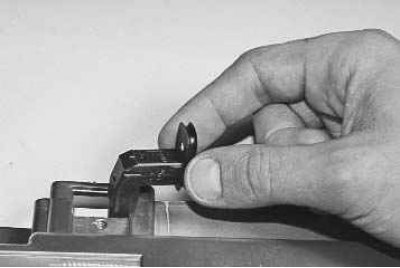
35. …and remove the switch.
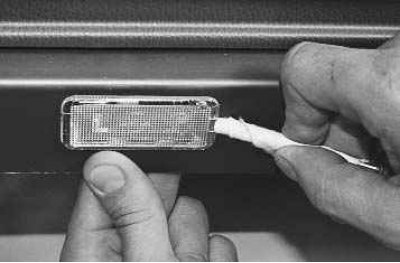
36. Use a screwdriver to pry up the glove compartment light and remove it from the instrument panel.
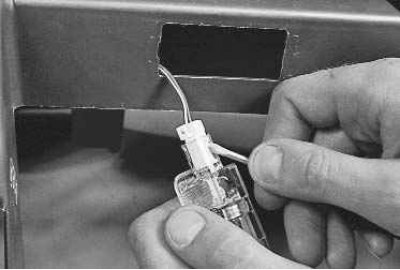
37. Press the lock and disconnect the wiring harness connector from the ceiling light.
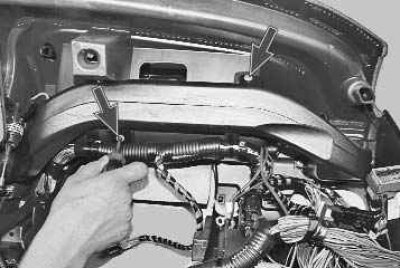
38. Remove the two screws securing the left air duct of the ventilation system…
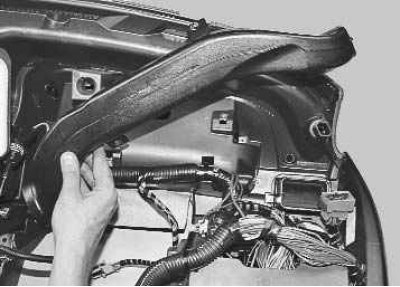
39. …and remove the air duct.
40. Remove the right air duct in the same way.
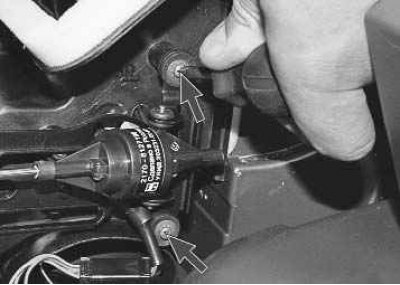
41. Remove the two screws securing the air flow distribution flap gear motor, remove the gear motor…
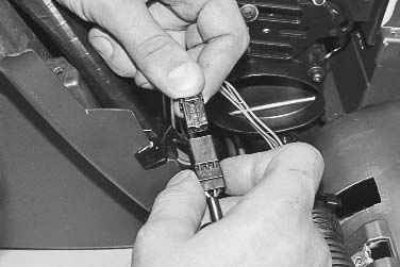
42. …and disconnect the wiring harness connector.
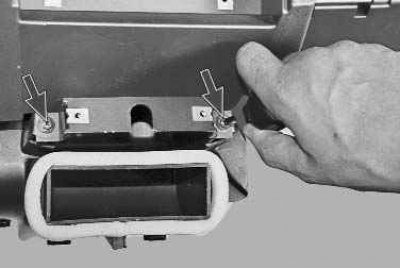
43. Remove the two screws securing the footwell heating air duct…
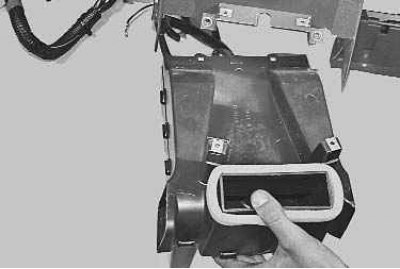
44. …and remove the air duct.
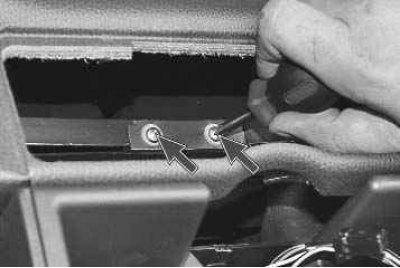
45. Remove the two screws securing the air heater distributor…
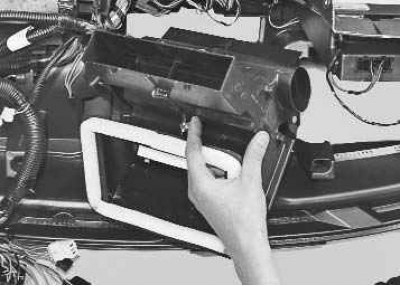
46. …and remove the distributor.
47. Assemble the instrument panel in the reverse order of disassembly.