



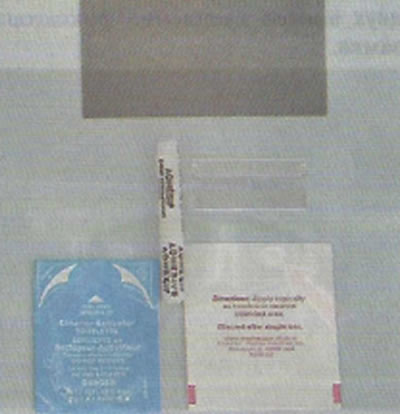
Warning! The work must be carried out at an ambient temperature of 10-25°C. Since the properties of the preparations included in the kit may differ from one manufacturer to another, when performing the work, it is necessary to follow the instructions attached to the kit. Below are general recommendations for installing a mirror.
Removal
1. Prepare the car for work and disconnect the terminal from the negative terminal of the battery ("Preparing the car for maintenance and repair").
2. Using a slotted screwdriver with a thin blade, unscrew the mirror mounting screw.
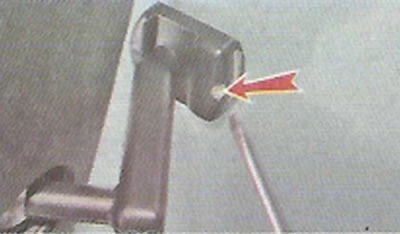
3. Slide it up and remove the mirror from the bracket.
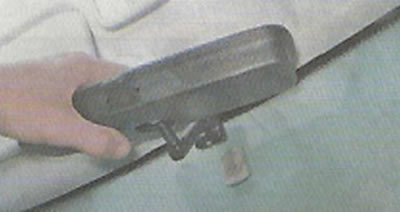
Recommendation. When the bracket is knocked down, the glass breaks. Therefore, the bracket should be removed from the glass that has already been removed.
4. Use a chisel to knock the bracket off the glass.
Installation
1. Remove any remaining glass from the bracket and sand the surface of the bracket intended for applying glue.
Warning: Wipes should be used within two minutes of opening the package.
2. Clean the glass with a cloth with a cleaning solution (at the place where the mirror is installed) and bracket.
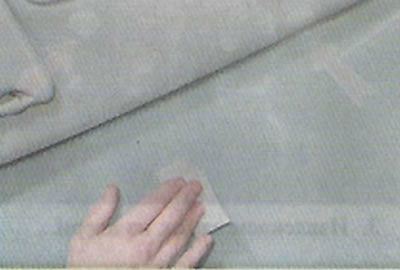
3. In the middle of the glass, stepping back about 50 mm from the ceiling trim, we mark the place for installing the mirror with a marker (if necessary, use a tape measure or ruler).
4. Using the second napkin with activator, degrease the surfaces to be glued.
5. Apply glue to the bracket.
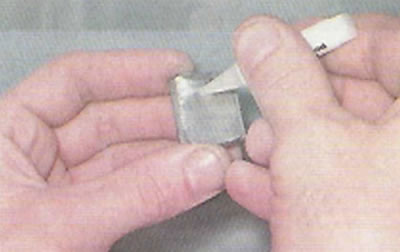
6. Press the bracket against the glass in accordance with the markings and hold it in this position for a minute.
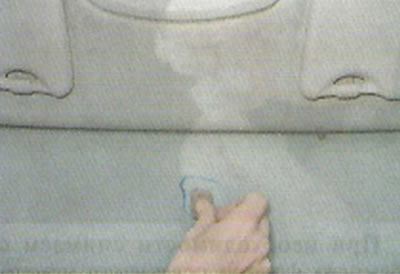
Warning: Wait at least 30 minutes before installing the mirror on the bracket.
7. Install the mirror on the bracket and tighten the mounting screw.