



Recommendation. When replacing the driven clutch disc, it is advisable to also replace the pressure plate (basket), even if there are no noticeable signs of wear on its working surface. The fact is that during operation its working surface wears out and the rigidity of the diaphragm spring weakens. It is also necessary to replace the release bearing if it has play, sticks when rotating, or makes an audible noise ("Clutch - checking technical condition").
To perform the work, you will need a mandrel for centering the driven clutch disc.
Removal
1. Remove the gearbox ("Gearbox - removal and installation").
Advice: If you do not plan to replace the pressure plate assembly (basket), use a center punch to mark its position on the flywheel.
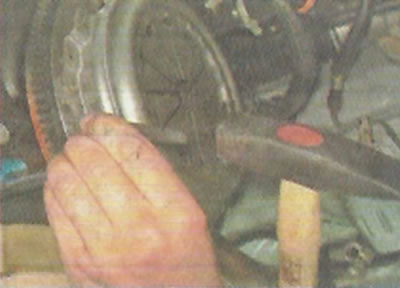
2. Using an 8 mm socket or open-end wrench, unscrew the six bolts securing the basket to the flywheel, holding the flywheel from turning with a mounting blade or a large slotted screwdriver.
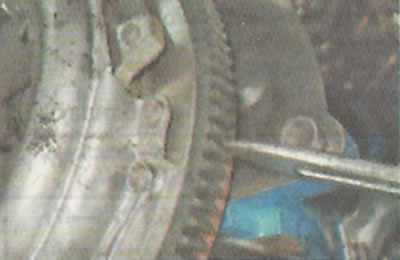
3. Remove the basket and driven disk.
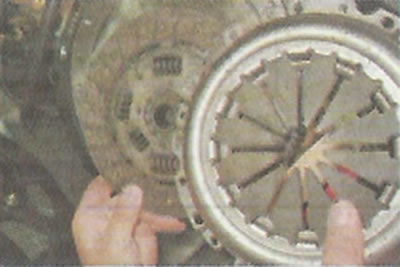
4. Using a slotted screwdriver, pry the ends of the spring off the projections of the release bearing sleeve.
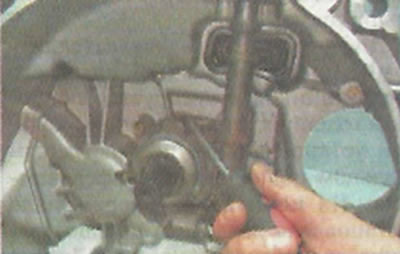
5. Remove the release bearing assembly with the clutch from the guide sleeve.
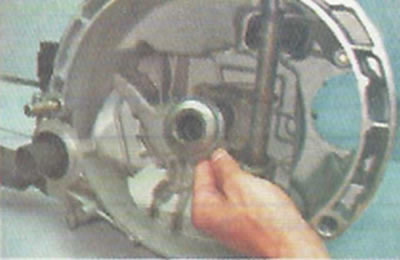
6. Remove the spring.
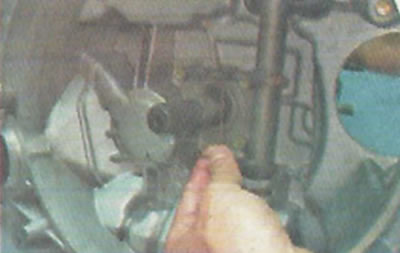
7. To replace the fork and its bushing, pry off the rubber protective cover of the clutch release fork using a screwdriver.
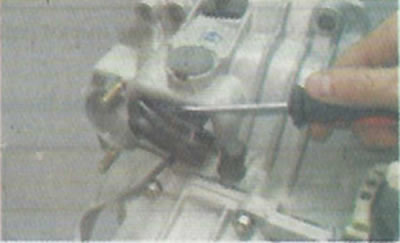
8. Remove the plastic fork bushing from the crankcase hole.
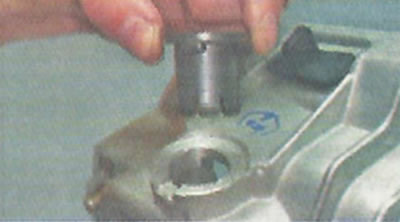
9. Having moved it upwards, we remove the lower end of the axis of the lever from the seat and remove the clutch release fork.
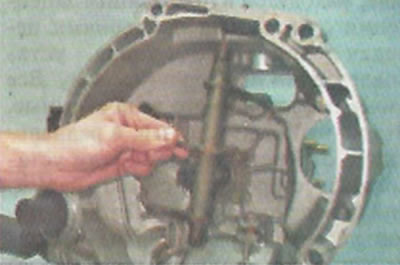
We wash the removed parts in kerosene. We replace damaged and worn out parts.
Installation
1. Clean the splined portion of the gearbox input shaft and the release bearing guide sleeve from dirt and old grease.
2. Apply a thin layer of SHRUS-4 grease to them and to the working surface of the clutch release saw shaft.
3. Install the drive parts into the clutch housing (fork, spring, release bearing) in the reverse order of removal. Apply plastic grease to the working surface of the fork.
4. Insert the centering mandrel into the hole in the end of the crankshaft.
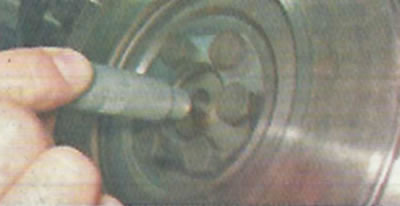
5. Install the driven clutch disc on the mandrel, orienting it so that the side where the disc hub protrudes more faces the gearbox.
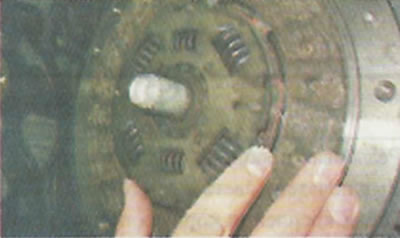
6. Install the basket.
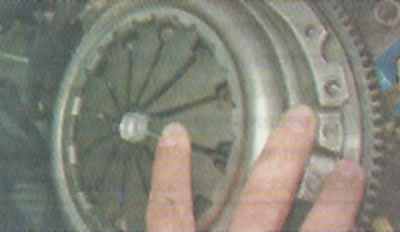
7. Having aligned the previously made marks, use an 8 mm socket wrench to evenly tighten the basket mounting bolts. Finally tighten the bolts to a torque of 19.1-30.9 N·m (2.0-3.2 kgf·m).
8. Remove the centering mandrel.
9. Install the gearbox in the reverse order of removal.
10. Check the operation of the clutch release drive and adjust the length of the cable ("Clutch release drive - adjustment").